

Calendly
In one line: Connect Calendly so your UnleashX agent can see your upcoming events, check when you’re free or busy, and generate booking links automatically.
1. Overview
Calendly is a scheduling tool that lets people book time with you based on your real availability. You set up event types (like “15-minute call”), and invitees pick a slot from a shareable link. Once connected, your UnleashX agent can list your upcoming and past events, look up event details, check your availability and busy times, browse your event types, and create scheduling links on the fly. That means your agent can answer “when are you free?” and send a booking link without you lifting a finger. Connecting Calendly to UnleashX is useful for sales, support, and customer-facing teams who want to keep scheduling moving inside a live call or chat.2. What you’ll need
- A Calendly account.
- At least one event type configured so there’s something to share or book.
- A Calendly Personal Access Token (or an OAuth connection).
Personal Access Tokens are available on Calendly’s paid plans (Standard and above). If you’re on the free plan or don’t see the API section, ask your account owner to enable it or upgrade.
3. Get your credentials
Calendly uses a Personal Access Token (or OAuth).1
Open Calendly Integrations
Sign in at https://calendly.com, then go to Account → Integrations & apps. (Direct link: https://calendly.com/integrations/api_webhooks)
2
Go to API & webhooks
Open the API & webhooks section.
3
Generate a Personal Access Token
Click Generate new token, name it
UnleashX, and create it.4
Copy the token
Copy the generated token.
A Personal Access Token reflects your Calendly account’s access. UnleashX only calls the endpoints needed for the tools listed in Section 5.
4. Connect on UnleashX
1
Open your agent
Go to https://www.tryunleashx.com and open the agent you want to connect.
2
Open Data Connectors
In the agent, go to Data Connectors.
3
Find Calendly
Locate Calendly in the list and click Connect / Add / Configure.
4
Authenticate
Either complete the OAuth flow or paste your Personal Access Token. UnleashX sends it as the
calendly_access_token header (Bearer).5
Confirm success
Save. When the status shows a Connected badge, your agent can start working with Calendly.
Use Calendly in a Workflow
Once connected, you can add Calendly to any automation from the Workflows builder. Its triggers and tools appear in the Apps panel, marked with an MCP badge.1
Add a trigger node
Open Workflows → New Workflow. On the canvas, click + Add Trigger. In the Paths panel, open the Apps tab and select Calendly — its Triggers are listed underneath. Use the search box if you have many connectors.
2
Add an action node
Click the + below any node to add a step, then pick Calendly again — this time the panel lists its Actions.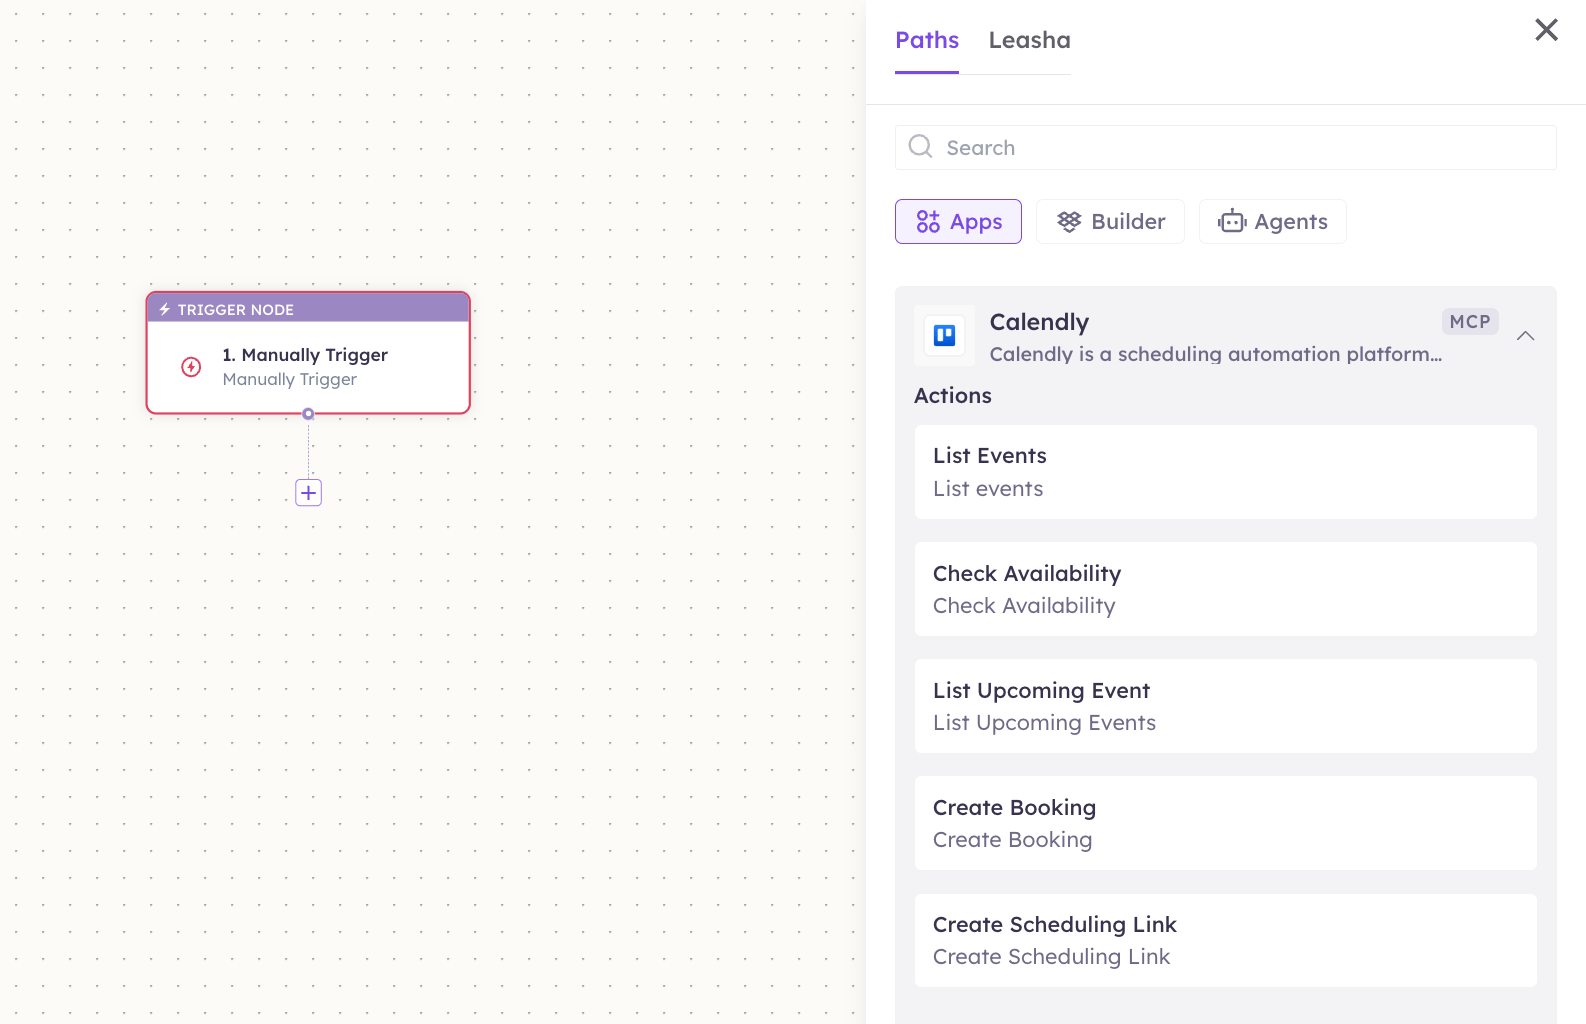
3
Configure the step
Fill in the fields for the trigger or action you picked. Required fields are marked with a red asterisk (*).
4
Add or select your account
Under Selected account, choose an already-connected account, or click Add Account to connect one now.
5
Save and test
Click Save. Use Test to verify the step, then toggle Publish when the workflow is ready.
The steps are the same for every connector. For the full workflow builder guide, see Using MCP in Workflows.
5. Available tools
6. Example usage
“What meetings do I have coming up this week?” Behind the scenes: List Upcoming Events (and Get Event Details for specifics). “Send this prospect a link to book a 30-minute demo.” Behind the scenes: List Event Types → Create Scheduling Link.7. Permissions & data access
UnleashX CAN:- Read your scheduled events and event details.
- Read your event types and availability/busy times.
- Create scheduling links and bookings.
- Access another user’s Calendly account.
- Change Calendly account, billing, or team settings.
- Act beyond what your token’s account can do.
8. Troubleshooting
For general connection issues, see /mcp/integrations.
9. Frequently asked questions
Is my data stored by UnleashX? UnleashX calls Calendly live with your token when a tool runs. It doesn’t keep a separate copy of your calendar. Can multiple team members connect? Yes. Each person creates their own token (or completes OAuth) and connects it to their agent. How do I rotate my key? Generate a new Personal Access Token in Calendly’s API & webhooks page, update it in UnleashX, then revoke the old one. Can the agent cancel meetings? The exposed tools focus on reading your schedule and creating links/bookings; there is no cancel tool in this integration.10. References
- Calendly API documentation: https://developer.calendly.com/
- API & webhooks page: https://calendly.com/integrations/api_webhooks
- Personal Access Token guide: https://developer.calendly.com/api-docs/ZG9jOjI3ODM2MTAz-getting-started