

MailChimp
In one line: Connect Mailchimp so your UnleashX agent can add and update subscribers, look people up, clean your audience, and check what campaigns are running — without opening the dashboard.
1. Overview
Mailchimp is an email marketing platform. Your contacts live in audiences (Mailchimp’s name for lists), and campaigns are sent to those audiences or to segments within them. Once connected to UnleashX, your agent can list your audiences, list and look up members, add new members, update existing ones, remove members, and list the campaigns in your account. It works against your live Mailchimp account using your API key, so it respects your plan’s contact limits. Connecting Mailchimp to UnleashX means list hygiene stops being manual: a form comes in and the subscriber is added with the right tags, a customer churns and their status is updated — all as part of the workflow that already handles the event.2. What you’ll need
- A Mailchimp account.
- An API key from your Mailchimp account settings (see Section 3).
- An UnleashX account with access to Data Connectors.
You paste an API key. UnleashX sends it to the Mailchimp API as an authorization credential on every request. The key ends in a data-center suffix (like
-us21) that tells the API which server your account lives on — keep it intact when copying.3. Get your credentials
Mailchimp authenticates with an API key — a single secret string you generate once in your account settings and paste into UnleashX. There’s no OAuth flow and nothing to install.1
Sign in to Mailchimp
Go to mailchimp.com and sign in. If you don’t have an account yet, sign up first.
2
Open your account settings
Click your profile avatar in the bottom-left corner, then choose Account & billing.
3
Go to Extras → API keys
From the account menu, open Extras → API keys. Any keys you’ve already created are listed here.
4
Create a new API key
Click Create A Key. Give it a name that tells you where it’s used — for example UnleashX. The name is only a label for you; it doesn’t affect what the key can do. A clear name matters later, when you need to know which key to revoke.
5
Copy the key immediately
Mailchimp displays the key so you can copy it. Copy it right away — including the
-usXX suffix — and paste it somewhere safe (a password manager, or straight into the UnleashX connector).6
Paste it into UnleashX
Head to Data Connectors → MailChimp in UnleashX and paste the key (full walkthrough in Section 4). UnleashX validates it immediately, so you’ll know right away if it was copied correctly.
Good to know
Permissions this key grants UnleashX
4. Connect on UnleashX
1
Open your agent
Go to https://www.tryunleashx.com and open the agent you want to connect.
2
Open Data Connectors
Inside the agent, go to Data Connectors.
3
Find MailChimp
Locate MailChimp and click Connect (or Add / Configure).
4
Paste your API key
Paste your API key and click Connect.
5
Confirm success
UnleashX validates the key and the MailChimp connector shows a Connected badge.
Use MailChimp in a Workflow
Once connected, you can add MailChimp to any automation from the Workflows builder. Its tools appear in the Apps panel, marked with an MCP badge.1
Add a trigger node
Open Workflows → New Workflow. On the canvas, click + Add Trigger. In the Paths panel, open the Apps tab and select MailChimp — its Triggers are listed underneath. Use the search box if you have many connectors.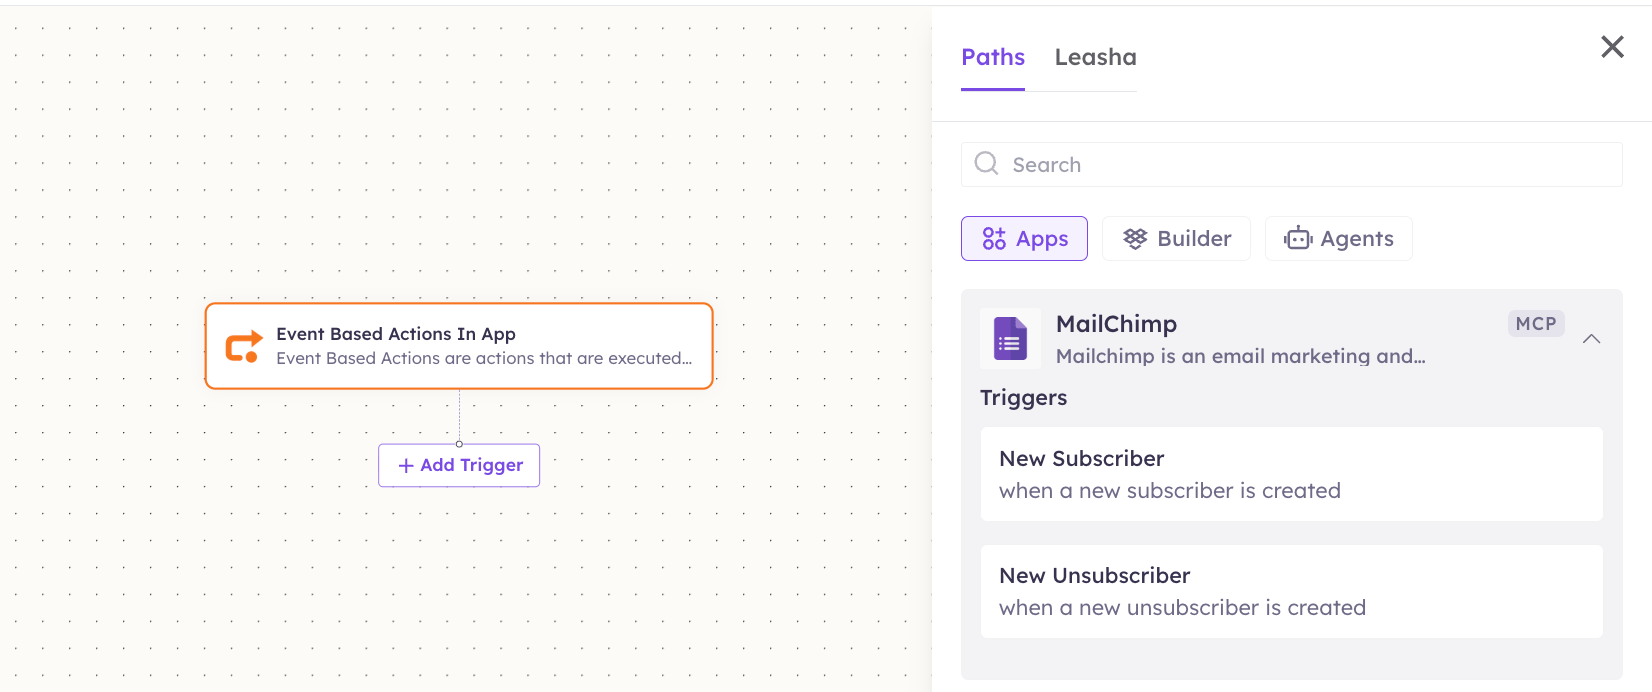
2
Add an action node
Click the + below any node to add a step, then pick MailChimp again — this time the panel lists its Actions.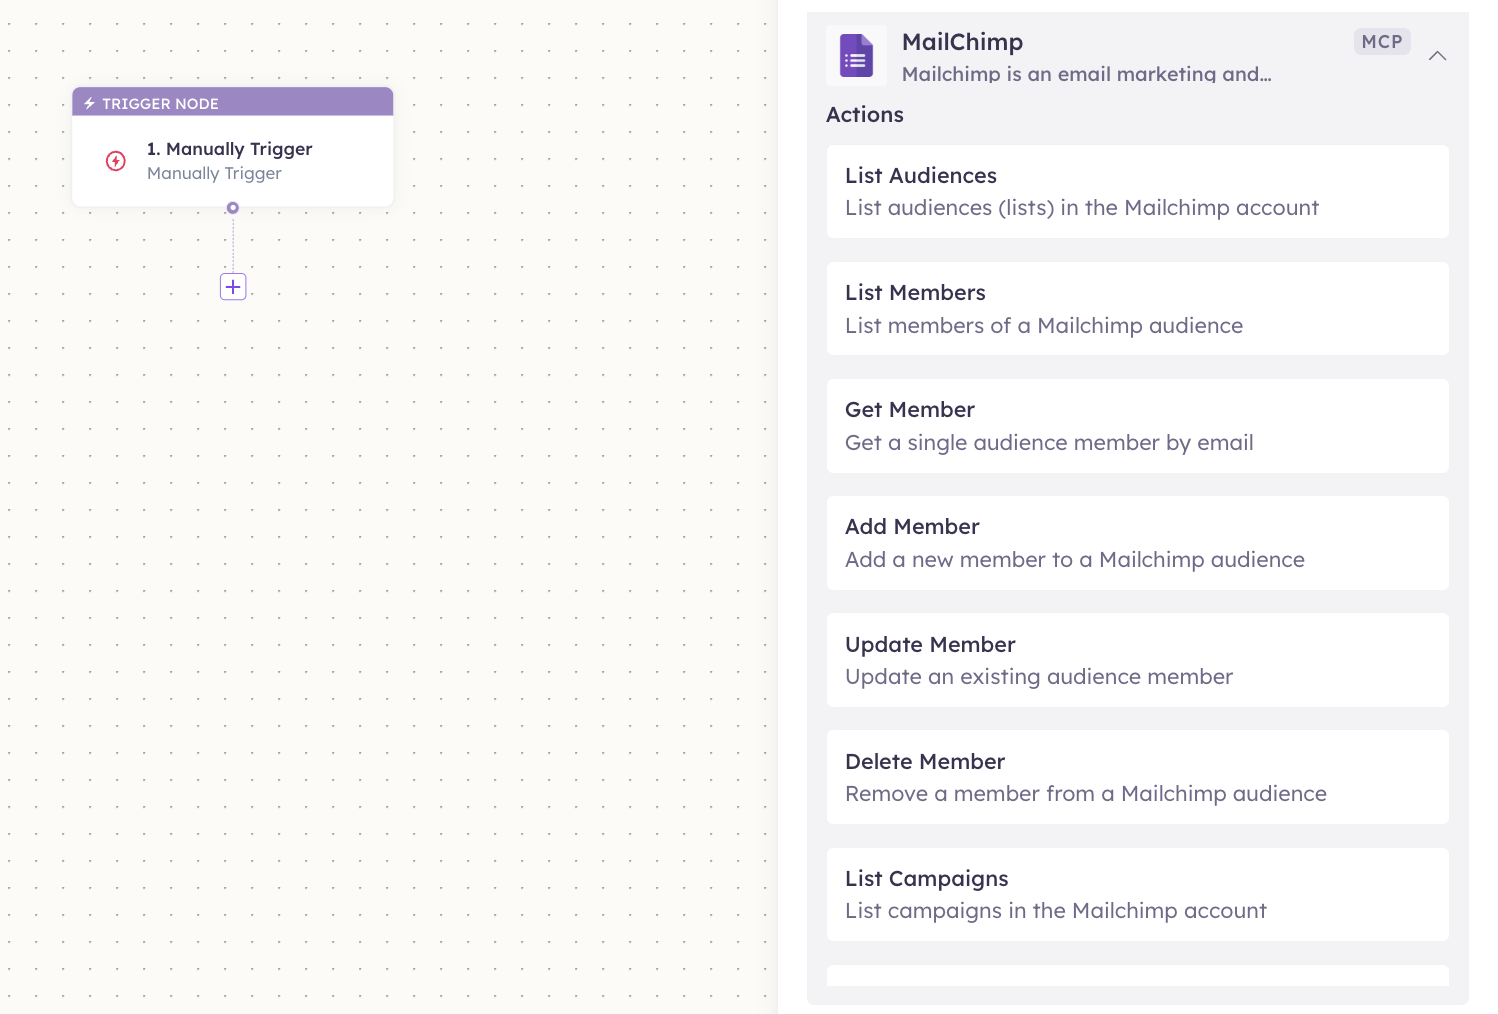
3
Configure the step
Fill in the fields for the trigger or action you picked. Required fields are marked with a red asterisk (*).
4
Add or select your account
Under Selected account, choose an already-connected account, or click Add Account to connect one now.
5
Save and test
Click Save. Use Test to verify the step, then toggle Publish when the workflow is ready.
The steps are the same for every connector. For the full workflow builder guide, see Using MCP in Workflows.
5. Available tools
6. Example usage
“Add jane@acme.com to the Newsletter audience as subscribed, with first name Jane.” Runs List Audiences to resolve the ID, then Add Member.
“Is bob@globex.com on any of our lists, and what’s his status?” Runs Get Member against the relevant audience.
7. Permissions & data access
UnleashX can:- Read your audiences, members, and campaigns.
- Add, update, and remove audience members.
- Create, edit, or send campaigns.
- Exceed your Mailchimp plan’s contact or sending limits.
- Change your Mailchimp account settings or billing.
8. Troubleshooting
For general connector issues, see /mcp/integrations.