> ## Documentation Index
> Fetch the complete documentation index at: https://docs.unleashx.ai/llms.txt
> Use this file to discover all available pages before exploring further.
# HTTP Executor
> A built-in UnleashX utility that lets workflows call any HTTP API, passing through whatever auth the target needs.
# HTTP Executor
> **In one line:** A platform utility that lets UnleashX workflows make a generic HTTP request to any API — handling the method, headers, query params, body, and authentication for you.
| | |
| ------------------ | ------------------------------------------------------------------------------------------------------------------------ |
| **Category** | Dev Tools |
| **Authentication** | Platform-managed |
| **Setup time** | \~0 minutes (built in) |
| **Difficulty** | Easy |
| **Best for** | Builders who need their agent or workflow to reach an external API that doesn't have a dedicated UnleashX connector yet. |
## 1. Overview
HTTP Executor is a general-purpose HTTP caller built into UnleashX. It lets a workflow send a request to any URL — GET, POST, PUT, PATCH, DELETE, and so on — with custom headers, query parameters, and a body, then returns the status code, response headers, and parsed body.
It is a **platform utility**, not a third-party service you sign up for. UnleashX uses it internally to power workflow steps that need to talk to an external API. The single tool it exposes, **HTTP API Call**, passes through whatever authentication the **target** API requires — you tell it the auth type and value, and it formats the request accordingly.
Connect this when you want your agent or workflow to integrate with an API that doesn't have its own UnleashX connector. Because it's so flexible, it's most often used by builders wiring up custom automation steps. Sensitive values (authorization headers, API keys, tokens, passwords) are automatically masked in logs.
## 2. What you'll need
* An **UnleashX account** with the HTTP Executor / workflow feature enabled. There is no external account to create and no key for you to generate.
* The details of the **API you want to call**: its URL, the HTTP method, any required headers or query parameters, the request body, and the authentication that *that* API expects.
If you don't see HTTP Executor available, ask your UnleashX workspace admin to enable it, or contact support at **[cs@unleashx.ai](mailto:cs@unleashx.ai)**.
## 3. Get your credentials
There is **no external credential to create** for HTTP Executor itself — it is built into UnleashX and managed at the platform level.
Instead, you supply credentials for the **target** API at call time. **HTTP API Call** accepts an `auth_type` and `auth_value` and formats the outbound request for you:
| `auth_type` | How the request is sent |
| --------------- | --------------------------------------------------------------------- |
| `bearer` | Adds `Authorization: Bearer `. |
| `api_key` | Adds an `X-API-Key: ` header. |
| `api_key_query` | Adds `api_key=` as a query parameter. |
| `basic` | Base64-encodes `auth_value` and adds `Authorization: Basic …`. |
| `custom_header` | Splits `auth_value` on `:` into a custom `Header-Name: value` header. |
You can also leave `auth_type` empty and pass any headers (including your own `Authorization`) directly in the `headers` field. Whatever the target API needs, you provide it per request.
## 4. Connect on UnleashX
Because HTTP Executor is platform-managed, there's no OAuth or key step — it's available as a workflow/agent capability once enabled.
Sign in at [tryunleashx.com](https://www.tryunleashx.com) and open the agent or workflow where you want to make HTTP calls.
Open **Data Connectors** and find **HTTP Executor** in the list.
Click **Connect** / **Add** / **Configure**. No external credentials are required — the tool becomes available immediately.
The status shows a **Connected** badge. Your agent or workflow can now use the **HTTP API Call** tool, supplying the target API's URL and auth per call.
### Use HTTP Executor in a Workflow
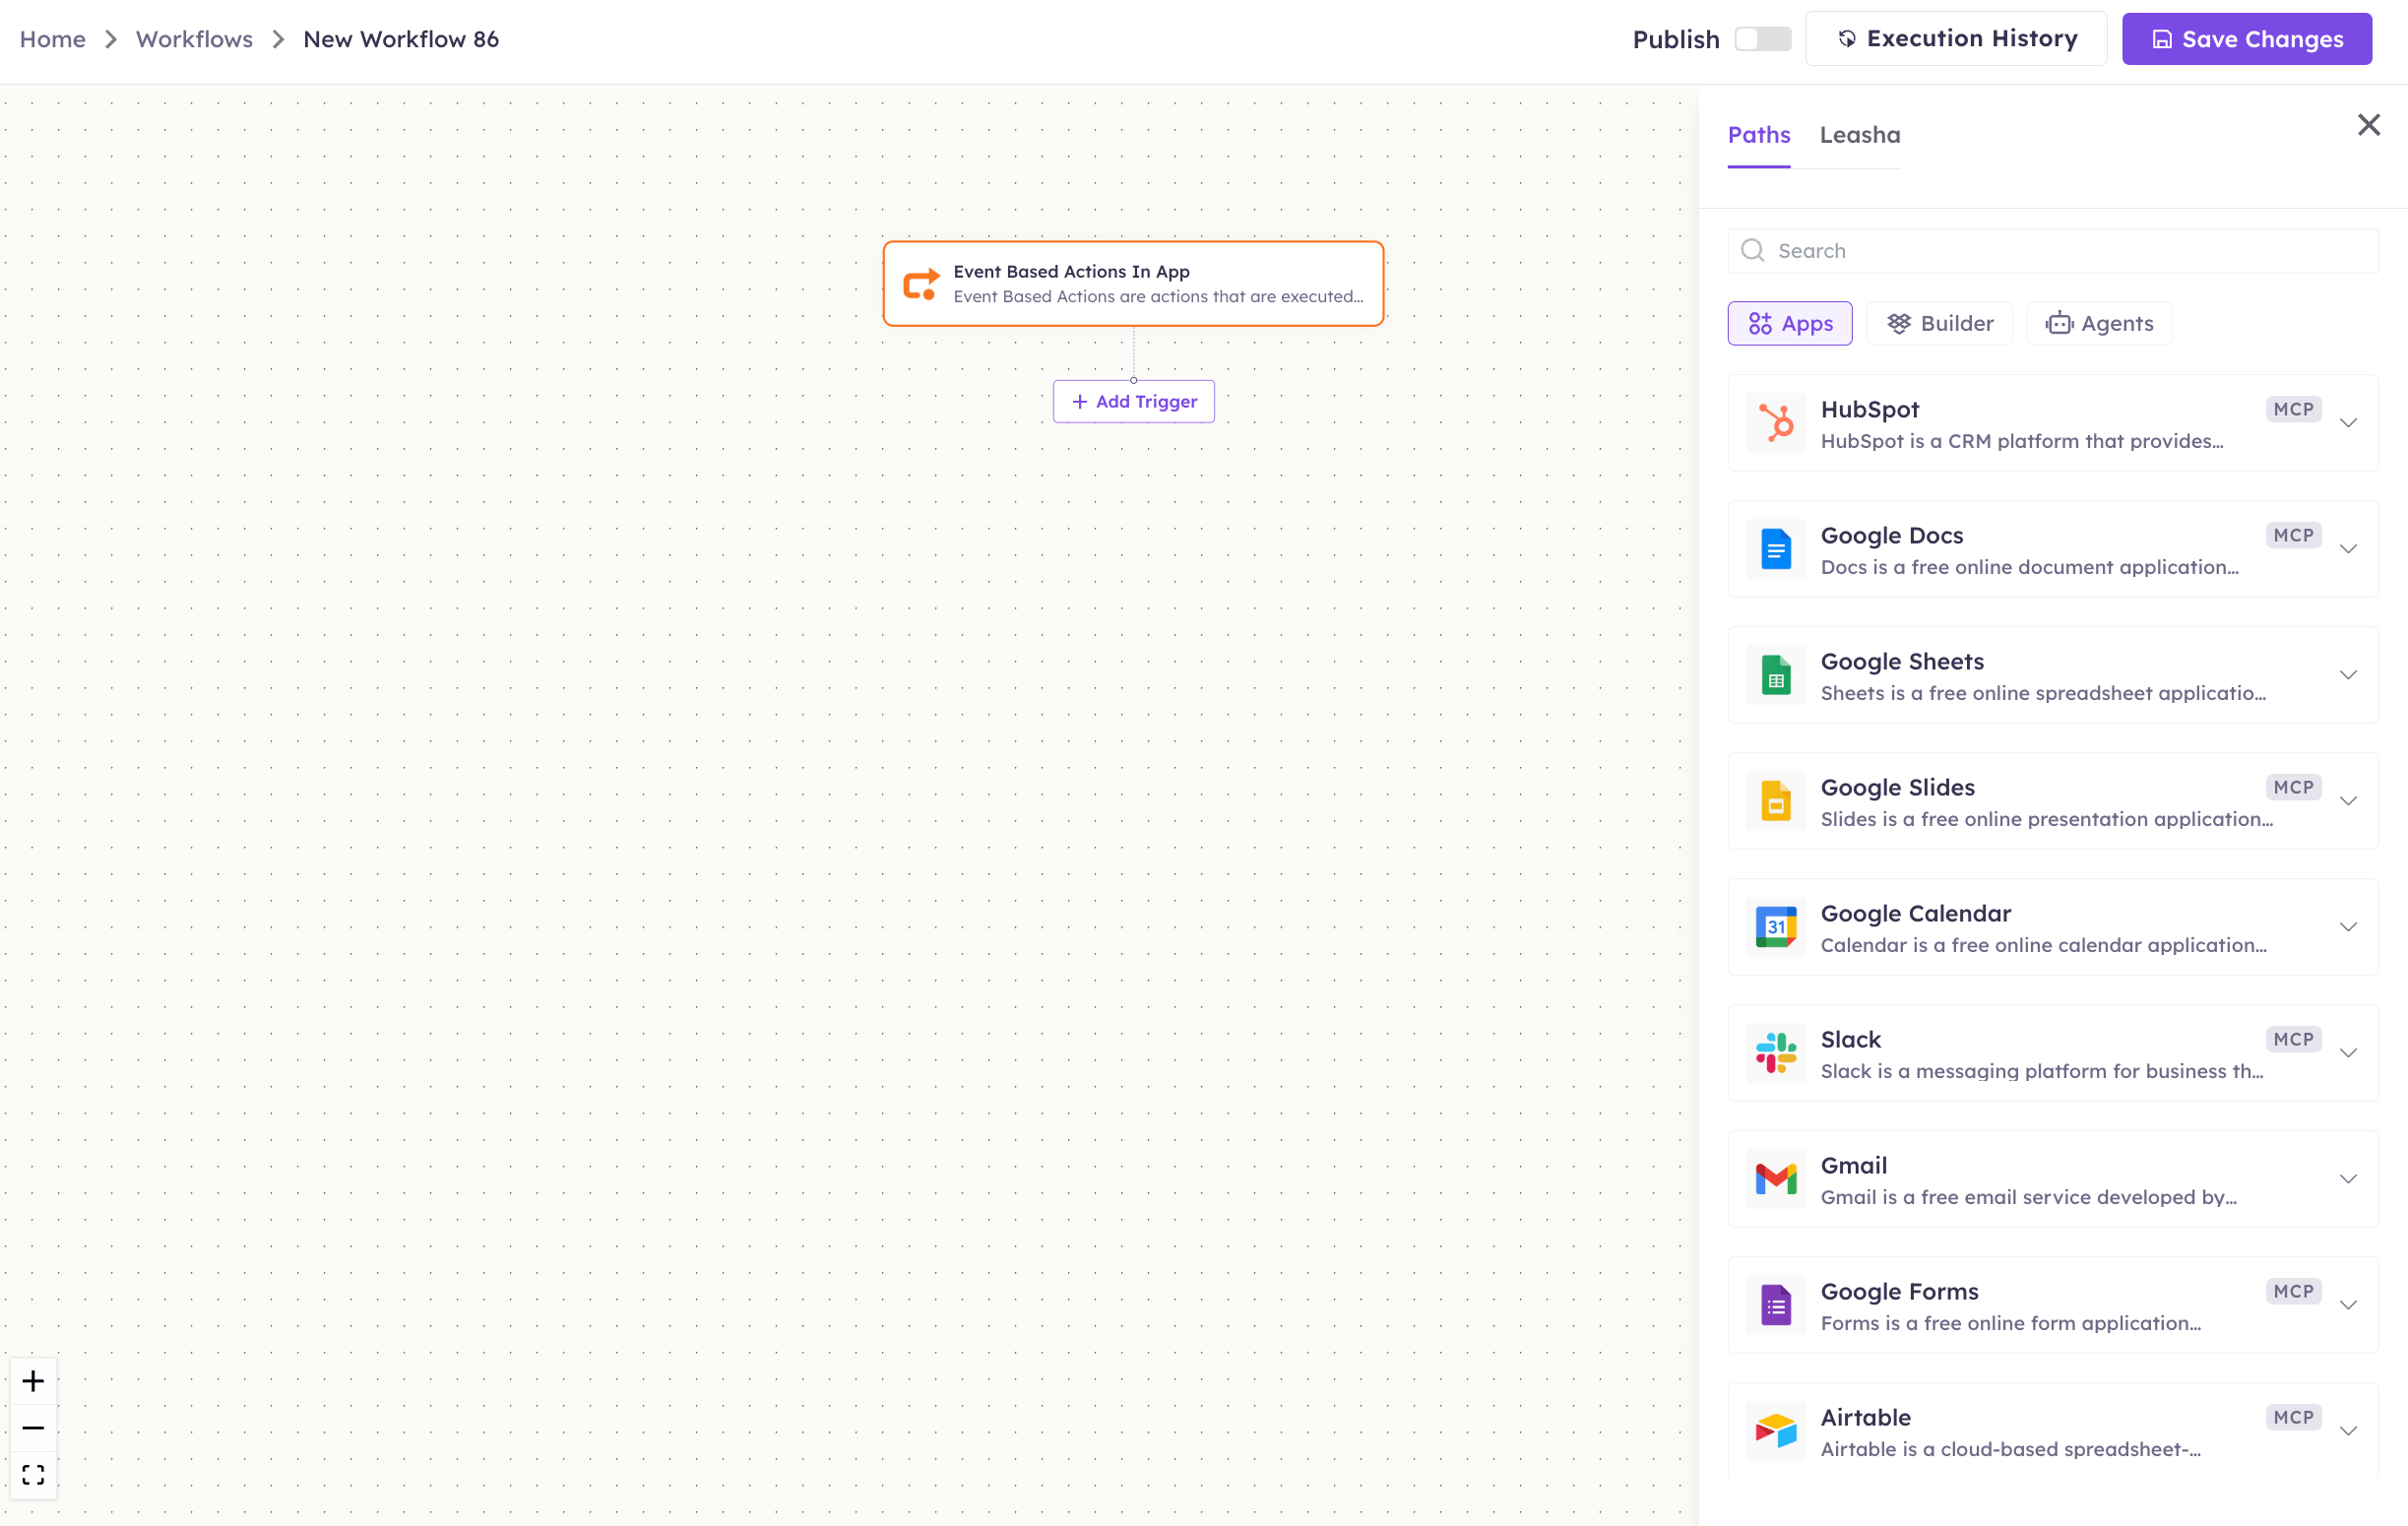
Once connected, you can add **HTTP Executor** to any automation from the **Workflows** builder. Its triggers and tools appear in the Apps panel, marked with an **MCP** badge.
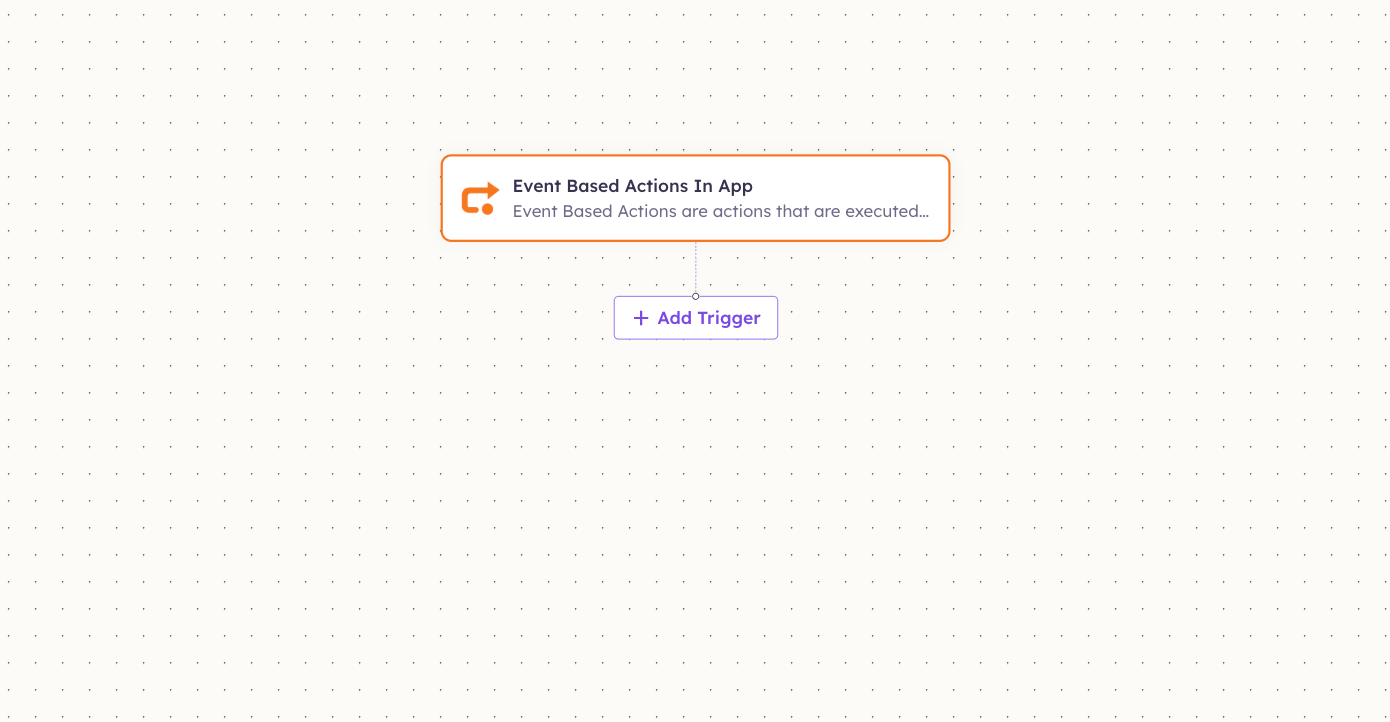
Open **Workflows → New Workflow**. On the canvas, click **+ Add Trigger** (or the **+** below any node) to add a step.
 In the **Paths** panel, open the **Apps** tab and select **HTTP Executor**. Use the search box if you have many connectors.
 Pick the trigger or action you want. Configure its fields — required fields are marked with a red asterisk (\*).
Under **Selected account**, choose an already-connected account, or click **Add Account** to connect one now.
Fill in the remaining fields and click **Save**. Use **Test** to verify the step, then toggle **Publish** when the workflow is ready.
The steps are the same for every connector. For the full workflow builder guide, see [Using MCP in Workflows](/mcp/workflows).
## 5. Available tools
This server exposes a **single tool**. Whether it "changes data" depends entirely on the request *you* make — a `GET` reads, while a `POST`/`PUT`/`PATCH`/`DELETE` to the target can create, update, or delete data on that external system.
| Tool name | What it does | Changes data? |
| ----------------- | ---------------------------------------------------------------------------------------------------------------------------------------------------------------------------- | ----------------------------------------------------------------------- |
| **HTTP API Call** | Make a generic HTTP request to any URL with custom method, headers, query params, body, and auth. Returns `success`, `status_code`, response `headers`, `body`, and `error`. | ✏️ Depends on the request (read for `GET`; `⚠️`/`✏️` for write methods) |
## 6. Example usage
**"Call our internal inventory API at `https://api.example.com/stock?sku=AB123` and tell me the count."**
→ Runs **HTTP API Call** with `method=GET` and the SKU as a query parameter, then reads the count from the JSON response.
**"POST this order payload to our fulfillment endpoint using our bearer token."**
→ Runs **HTTP API Call** with `method=POST`, the JSON `body`, `auth_type=bearer`, and `auth_value` set to your token; returns the endpoint's status and response.
## 7. Permissions & data access
**UnleashX can:**
* Send HTTP requests (any method) to the URL you specify.
* Attach the headers, query parameters, body, and authentication you provide.
* Return the response status, headers, and body to your workflow.
**UnleashX cannot:**
* Call anything you don't explicitly point it at — it only requests the URL given in each call.
* Store or reuse the target API's credentials beyond the request (auth values you pass are used for that call and masked in logs).
* Grant itself access to a target API; the target still enforces its own authentication and permissions.
**How to disconnect:** In your agent's **Data Connectors**, open HTTP Executor and choose **Disconnect** / disable it. Since there's no external credential, this simply removes the tool from that agent/workflow.
## 8. Troubleshooting
| Problem | What it means | How to fix it |
| ------------------------------------ | ---------------------------------------------------------------- | ---------------------------------------------------------------------------------------------- |
| `401 Unauthorized` (from the target) | The target API rejected your credentials. | Check the `auth_type` and `auth_value`, or the `Authorization` header you passed for that API. |
| `403 Forbidden` (from the target) | The credential is valid but lacks permission for that endpoint. | Use a credential/token with the right scope on the target system. |
| `400 Bad Request` from UnleashX | The call config was invalid (e.g. missing `url`). | Provide a valid full `url` and a supported `method`. |
| Timeout | The target took longer than the timeout (default 30s, max 300s). | Increase `timeout`, or check that the target endpoint is reachable. |
| Body not parsed as JSON | The response wasn't `application/json`. | The raw text is returned in `body`; parse it in your workflow as needed. |
For general connector issues, see [/mcp/integrations](/mcp/integrations).
## 9. Frequently asked questions
**Do I need an account or API key for HTTP Executor?**
No. It's a platform-managed UnleashX utility. You only need credentials for the *target* API you're calling, supplied per request.
**Are my auth tokens stored?**
No. The `auth_value` (and other sensitive fields like authorization headers, tokens, and passwords) are used for that single request and are automatically masked in UnleashX logs.
**Can it call any URL?**
It will request whatever URL you give it, using your provided auth. The target API still enforces its own access controls, so you can only reach what your credentials allow.
**When should I use this instead of a dedicated connector?**
Use a dedicated connector (Slack, Razorpay, Firebase, etc.) when one exists — it's simpler and safer. Reach for HTTP Executor when you need to integrate an API that doesn't yet have its own UnleashX connector.
## 10. References
* [UnleashX integrations overview](/mcp/integrations)
* [MDN: HTTP request methods](https://developer.mozilla.org/en-US/docs/Web/HTTP/Methods)
* [MDN: HTTP authentication](https://developer.mozilla.org/en-US/docs/Web/HTTP/Authentication)
* Support: **[cs@unleashx.ai](mailto:cs@unleashx.ai)**
Pick the trigger or action you want. Configure its fields — required fields are marked with a red asterisk (\*).
Under **Selected account**, choose an already-connected account, or click **Add Account** to connect one now.
Fill in the remaining fields and click **Save**. Use **Test** to verify the step, then toggle **Publish** when the workflow is ready.
The steps are the same for every connector. For the full workflow builder guide, see [Using MCP in Workflows](/mcp/workflows).
## 5. Available tools
This server exposes a **single tool**. Whether it "changes data" depends entirely on the request *you* make — a `GET` reads, while a `POST`/`PUT`/`PATCH`/`DELETE` to the target can create, update, or delete data on that external system.
| Tool name | What it does | Changes data? |
| ----------------- | ---------------------------------------------------------------------------------------------------------------------------------------------------------------------------- | ----------------------------------------------------------------------- |
| **HTTP API Call** | Make a generic HTTP request to any URL with custom method, headers, query params, body, and auth. Returns `success`, `status_code`, response `headers`, `body`, and `error`. | ✏️ Depends on the request (read for `GET`; `⚠️`/`✏️` for write methods) |
## 6. Example usage
**"Call our internal inventory API at `https://api.example.com/stock?sku=AB123` and tell me the count."**
→ Runs **HTTP API Call** with `method=GET` and the SKU as a query parameter, then reads the count from the JSON response.
**"POST this order payload to our fulfillment endpoint using our bearer token."**
→ Runs **HTTP API Call** with `method=POST`, the JSON `body`, `auth_type=bearer`, and `auth_value` set to your token; returns the endpoint's status and response.
## 7. Permissions & data access
**UnleashX can:**
* Send HTTP requests (any method) to the URL you specify.
* Attach the headers, query parameters, body, and authentication you provide.
* Return the response status, headers, and body to your workflow.
**UnleashX cannot:**
* Call anything you don't explicitly point it at — it only requests the URL given in each call.
* Store or reuse the target API's credentials beyond the request (auth values you pass are used for that call and masked in logs).
* Grant itself access to a target API; the target still enforces its own authentication and permissions.
**How to disconnect:** In your agent's **Data Connectors**, open HTTP Executor and choose **Disconnect** / disable it. Since there's no external credential, this simply removes the tool from that agent/workflow.
## 8. Troubleshooting
| Problem | What it means | How to fix it |
| ------------------------------------ | ---------------------------------------------------------------- | ---------------------------------------------------------------------------------------------- |
| `401 Unauthorized` (from the target) | The target API rejected your credentials. | Check the `auth_type` and `auth_value`, or the `Authorization` header you passed for that API. |
| `403 Forbidden` (from the target) | The credential is valid but lacks permission for that endpoint. | Use a credential/token with the right scope on the target system. |
| `400 Bad Request` from UnleashX | The call config was invalid (e.g. missing `url`). | Provide a valid full `url` and a supported `method`. |
| Timeout | The target took longer than the timeout (default 30s, max 300s). | Increase `timeout`, or check that the target endpoint is reachable. |
| Body not parsed as JSON | The response wasn't `application/json`. | The raw text is returned in `body`; parse it in your workflow as needed. |
For general connector issues, see [/mcp/integrations](/mcp/integrations).
## 9. Frequently asked questions
**Do I need an account or API key for HTTP Executor?**
No. It's a platform-managed UnleashX utility. You only need credentials for the *target* API you're calling, supplied per request.
**Are my auth tokens stored?**
No. The `auth_value` (and other sensitive fields like authorization headers, tokens, and passwords) are used for that single request and are automatically masked in UnleashX logs.
**Can it call any URL?**
It will request whatever URL you give it, using your provided auth. The target API still enforces its own access controls, so you can only reach what your credentials allow.
**When should I use this instead of a dedicated connector?**
Use a dedicated connector (Slack, Razorpay, Firebase, etc.) when one exists — it's simpler and safer. Reach for HTTP Executor when you need to integrate an API that doesn't yet have its own UnleashX connector.
## 10. References
* [UnleashX integrations overview](/mcp/integrations)
* [MDN: HTTP request methods](https://developer.mozilla.org/en-US/docs/Web/HTTP/Methods)
* [MDN: HTTP authentication](https://developer.mozilla.org/en-US/docs/Web/HTTP/Authentication)
* Support: **[cs@unleashx.ai](mailto:cs@unleashx.ai)**